The Animation Process
Storyboard
The storyboard is created from a script. The script can be the final, approved script or a rough working script.
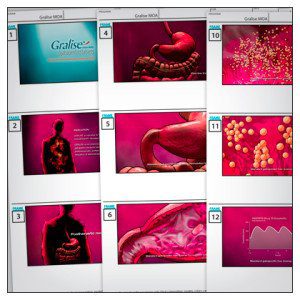
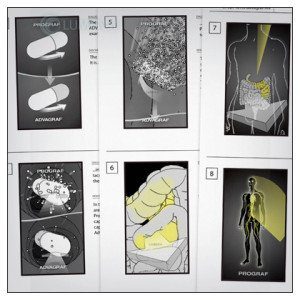
There are several pre-storyboard steps I sometimes do. I’ll start with a series of quickly sketched thumbnails; nothing pretty, I’m just trying to quickly get the story into a visual format. I also sometimes need to create a detailed diagram of how a device or procedure works. These pre-storyboards help map out what the action is and shows the steps visually. Once I get thumbnail story or the diagram working, I’ll create production-ready storyboards. These are what you’d traditionally think of when you think of storyboards.
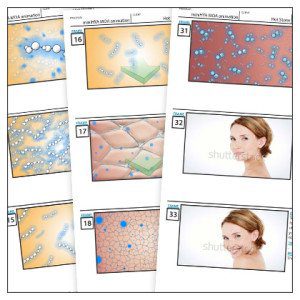
Production storyboards are where camera motion, framing, color, and maybe a bit of rough look and feel are mapped out and refined. This is where the action gets worked out and sometimes will show flaws in the continuity of the script which may require slight script revisions to fit better with the visual storytelling. Placement of titles and any other graphics are also worked out in this step. It’s a good idea to include anything like titles and labels here because it helps with the framing of your shots. You will need room for labels and titles and lower thirds and this is the perfect time to see where those will fit. In the world of medical animation the screen can sometimes get very wordy and knowing how it will fit is critical.
This is also a very important step for visual flow and eyelines; lot of framing and choreography can be solved or mostly solved in this step as opposed to the much more time-consuming process of trying to fix things after the actual animation is started.
Building the storyboard
You can build your storyboards any way you like. You can hire a storyboard artist or do them yourself. I like to create my own storyboard and have developed a pretty good pipeline for them over the years. I use a combination of scanned pencil sketches, Wacom tablet drawings, toon-rendered 3D, Illustrator for things like charts, and photos from my camera or phone. Then create the frame images in Photoshop (make use of Layer Comps) and finish in InDesign. I’ve crafted an InDesign template specifically for storyboarding.
It’s a good idea to keep it looking as loose and sketched and rough as possible. If it looks too finished you run the risk of the client locking into the storyboard art as what they think they are actually going to get in the end. Yes, it’s happened; lesson learned.


